Showing posts with label industrial gears. Show all posts

Tuesday, 25 April 2023

Somewhere over the Rainbow - Rikki G - Mood Board Inspiration


Good morning how are you? Well its time to start getting back into the routine of school runs and early nights and early dinners.... 

Ohhhhh adulting lol I have really enjoyed my little break spending time with my girl, getting creative in our art journals, some little project life and of course playing with my Dusty Attic Chipboard.

 How can you not feel inspired?


I have a little process video so you can follow along.


To kick off the layout spray your chipboard pieces white, you all know I love that as my start point and against the vibrate yellow they really show all the amazing individual Dusty Attic pieces and how you can make some amazing art.


Start with the Big Moon by Nuneka, by adding it to the edge of your photo.


Add the Dusty Attic Flower Buds over the moon, give the stems a bit of a curve to mimic the edge of the moon.


Add the Dusty Attic Dandelions through out the clusters..... like little star bursts.


And do the same with the Dusty Attic Industrial Jumbo Gears....


Finish off with the Title.


I hope this has inspired you. 

Remember you still have time to enter the two amazing Dusty Attic Challenges, just scroll below to grab all the details.

Till next time have a creative day.

Rikki G


Big Moon – by Nuneka


All you need to do is add your take of the challenge into the comments section on the Dusty FANattics Facebook page HERE for your chance to win one of two amazing $50 Credits to choose any. 

Good Luck and have fun creating.


Tuesday, 24 January 2023

Own your story - Pascale B

Hello Sweeties,

Today I'm up on Dusty Attic blog with a small mixed media frame.  


I started by making a background for the frame using a piece of cardboard that I covered with canvas. Then, I primed them both with white gesso.


I selected different sizes of gears and a few leaves from the Botanical Mix chipboards. I primed all the selected chipboards with white gesso. I glued all the elements in place around the photo and added a few flowers as well. 


I colored the gears and botanical mix with the Burnt Umber liquid acrylic and a lot of water. When happy with the result I added some White Gold and Old White waxes. 


I covered the frame with clear gesso. When dry, I colored it with brown and black liquid acrylic paints. Then I dry brush with white gesso to whiten the frame.


To finish, I added some glitter.


Dusty Attic products:


Gear Corners #1
DA2681


Industrial Jumbo Gears #2
DA3363

                                                    
Mini Cogs #2
DA1932


Mini Cogs #3
DA3364


Botanix Mix #3
DA3348

Botanic Mix #4
DA3349

Botanic Mix #6
DA3351

Other products:
  • MDF- Artistiko (Frame);
  • Flowers - 49 and Market (Fluff Sugar Posies, White heron Royal Spray);
  • Art Alchemy Liquid Acrylic Paint - Finnabair Prima (Burnt Sienna, Ink Black);
  • Art Alchemy Waxes - Finnabair Prima (White Gold, Old White, Soot);
  • Art Extravagance - Finnabair Prima (Clear Crackle Paste);
  • Art Basics - Finnabair Prima (White Heavy Gesso, 3D Gel Gloss, Soft Gloss Gel).

Wednesday, 11 January 2023

Altered Mannequin - Amanda Herring


Hello 2023

I hope that we all have a fantastic year ahead 

filled with the things that give us joy and happiness. 


I am super excited to be creating again and back to doing mixed media again! 

What is even more exciting is to be a part of the Dusty Attic 2023 creative team!


I am looking forward to a creative year ahead filled with so many ideas and projects.

Today I would like to share with you an altered mannequin, This mini dress-form was used  to display 
jewellery and is a great size for an altered project. 


I had this old display mannequin that I have wanted to give a mixed media makeover 
To for ages, I decided that an industrial look would give a great contrast to the form. 

I have started by covering the entire surface with a layer of gesso and  pieces of textured tissue paper, the crackle stencil detail in gold were also done using a stencil, tissue paper and gold crackle paste. I have used the stencil to add gold crackle paste onto the loose tissue paper sheets  so that I
can collage this onto the mannequin, 
as there were no flat surfaces making stencilling really difficult on the curves on dressmakers form.


After collaging the tissue papers onto the form I have then added layers of pre painted cogs around the form until I was happy with the effect.


I have then given them a patina and distressed look by adding various colours of gold and a vintage light blue to give them some texture and a worn look,
as well as helping to show up all the layers of texture.
Final touches are done with gold and turquoise patina waxes and some extra gold paint and some red
acrylic for the Industrial Heart for an added colour pop.


The skirt has been made with fabric strips that are stained with a aqua colour spray in dark brown 
and stitched in small bunches around the base of the dressmakers form.
I liked how this added a softer contrast to the cogs and gave an illusion of a skirt around the base.

To finish I have added wings cast from a Prima Imaginarium mould using stamperia extra light soft clay.

I have added some random flowers in gold, red and a soft vintage blue to finish.

Supplies Used:

Dusty Attic Chipboard
Mini Cogs #2 DA1932L
Mini Cogs #3 DA3364U
Cogs and Gears DA1977
Industrial Gears DA2859
Industrial Hearts DA1953

Tim Holtz Idea-Ology collage paper Typeset / composer

Stamperia Crackle Paste Gold
Allegro Acrylic paint-Avorio (cream), titanium white and super gold
Aqua color spray - Leather
Extra Fort Glue
Extra light Soft clay ( wings)

Liquitex Matte Medium
Liquitex Gesso
Paper Artsy Fresco Finish paint - Seaglass
Prima
Imaginarium moulds - Amun and bast
art academy wax Old white, patina green, green brocade opal magic, Gold and aged Brass.

Thanks for stopping by 

I will see you for my next project 

Until Next Time 

Mandy x


Friday, 11 March 2022

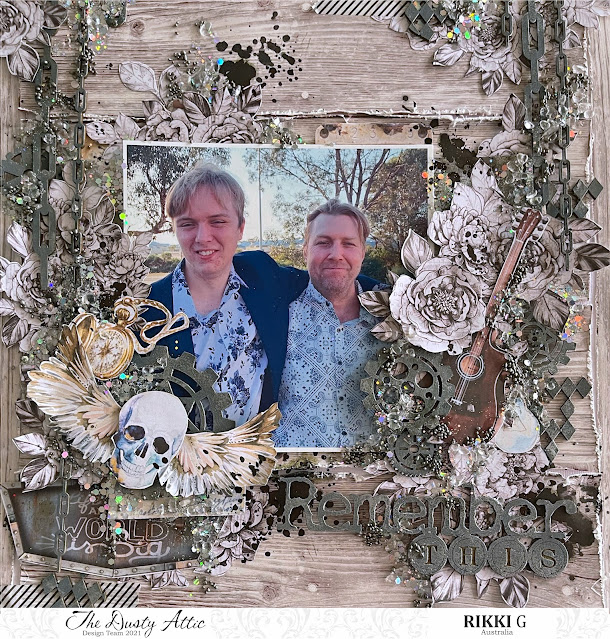
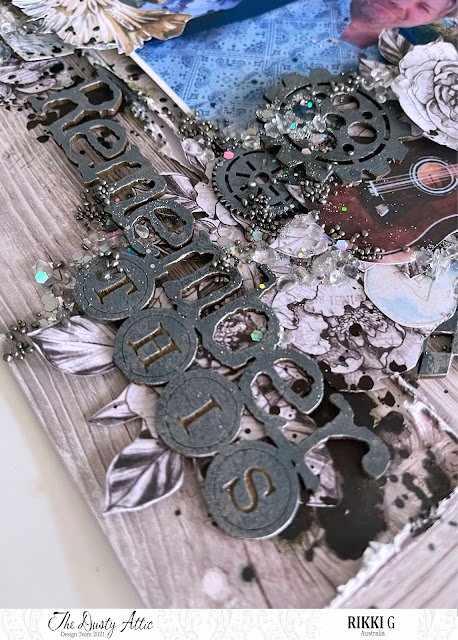
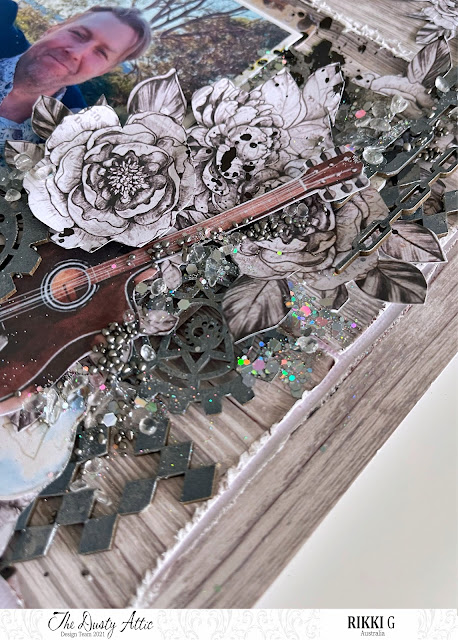
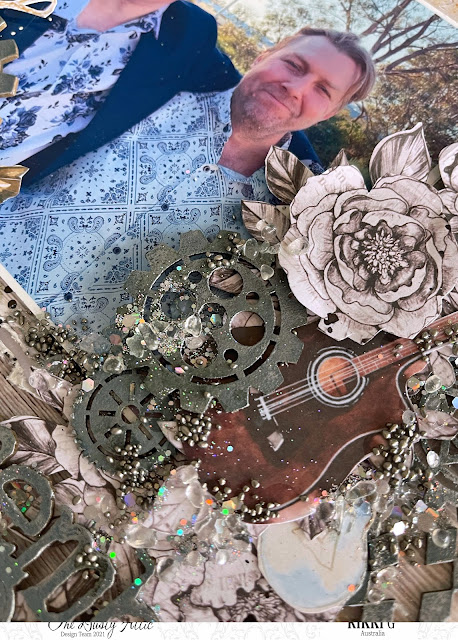
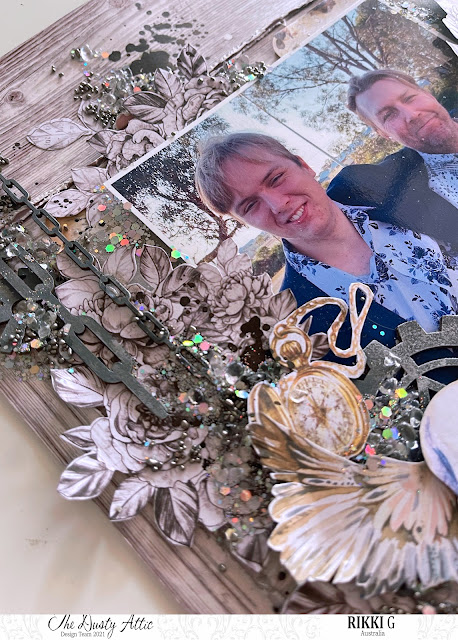
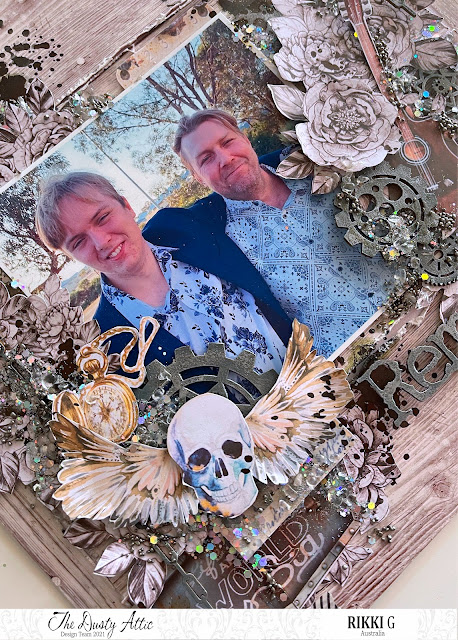
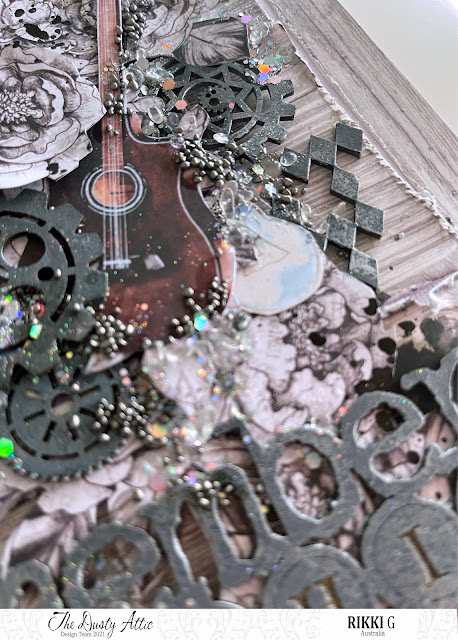
Remember This - Rikki G - Mood Board Inspiration

Good morning, I cant believe we are in March already !!! 

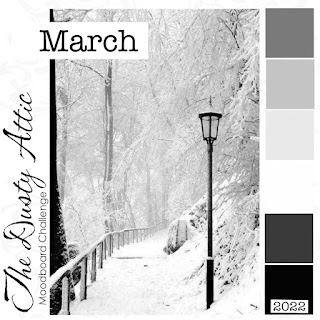
But that does mean one thing a new chance for you all to enter the Dusty Attic Moodboard challenge, and who wouldn't love to win a voucher for $50 to spend in the Dusty Attic store.


Today I am sharing my take on this months Moodboard. I have to say this did get me out of my comfort zone and I really had to put my thinking hat on for sure. But its wouldn't be a challenge if it was a little easy hey?


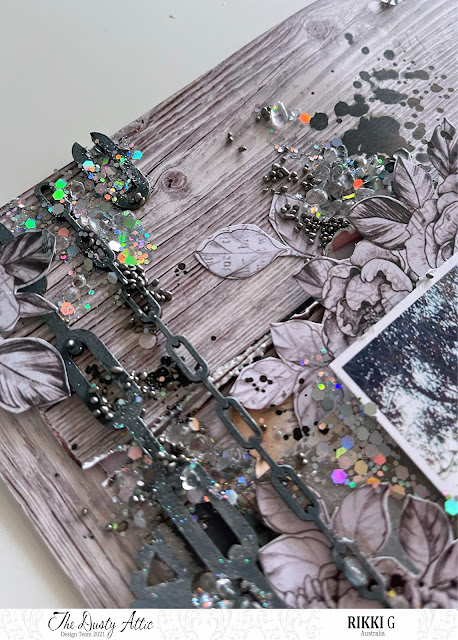
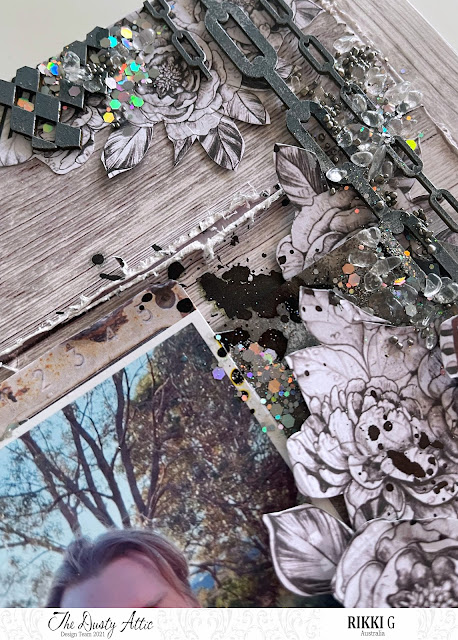
To start off I deconstructed a wood grain paper and then reconstructed it on a white piece of cardstock, this allows me to tear into the edges and distress them with a distress tool - to give it a rough look....


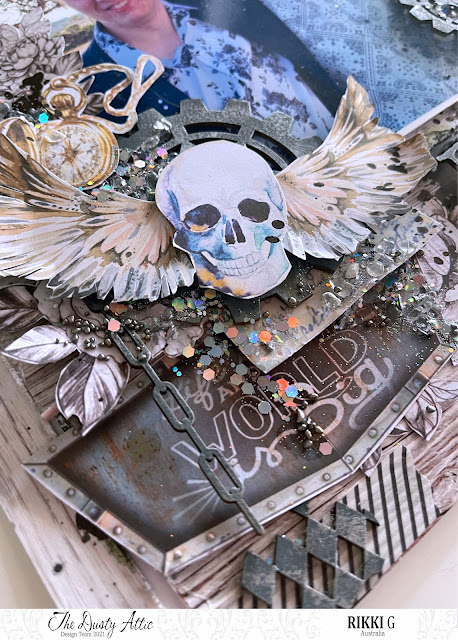
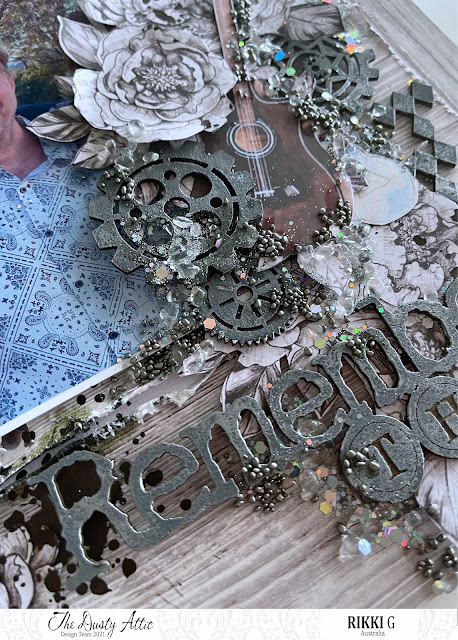
I prepped all the chipboard with Oxide Ink - Black Soot, once it was dry I used Finnabar Wax - Brushed Iron. And then set it aside ready to use. This technique works great with etched chipboard like Remember This title, it really allows you to show you the details.


Hide gears in between the fussy cut flowers.....


Add clear stones, and silver glitter.... also add some silver pebbles and art stones, throughout the layout.


Don't forget to add some heavy black splatters throughout your layout. It helps draw your eye around the layout.

So why dont you give it a go?


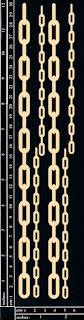
Chains – 4pc


We would love to see your take on our moodboard.  Don’t forget to share your projects on our Facebook page. Why not enter the Mood Board challenge yourself? 

All you need to do is add your take of the challenge into the comments section on the Dusty FANattics Facebook page HERE for your chance to win one of two amazing $50 Credits to choose any. 

Good Luck and have fun creating.