
Hi there!
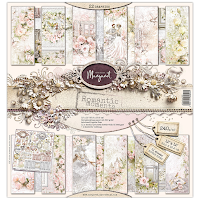
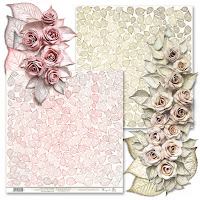
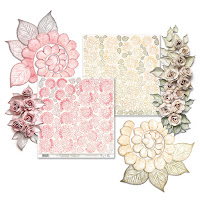
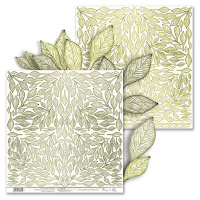
Today's entry is really important for me, because it concerns my new collection of scrapbooking papers. I have no idea how I will experience it in the future, but so far each new collection gives me full of emotions and experiences. This one was created in a slightly different way than the previous ones. I was privy to the details when it was almost half ready. I was lovely surprised by such a situation from my partner - sister - the graphic designer for Margaret Paper Design.
The concept of the "Romantic moments" collection has changed several times, including the color tone. Now, however, I invite you to familiarize yourself with the final product on our website as well as in the MyCRAFTime store.
We currently have pre-sale and until 15th of February 2022 you can shop with a 10% discount using the code "RomanticMoments". What is more, on our Facebook and Instagram profiles you can take part in the giveavay - all three Margaret's collections are up for grabs along with cutting sets.
So.. let's see what a romantic project I was able to create with this collection. I must admit that the chipboards from Dusty Attic turned out to be an invaluable support.
When creating this project, I tried to choose the colours that would match the moodboard of the current challenge on the Dusty Attic blog. It is mostly in shades of green, but there is also a salmon-apricot shade, at least that's how I see it. And these two shades have become basic colours in my work. Maybe you too will take up this challenge? All you have to do is add your art work to the comments section of the Dusty FANattics Facebook group for your chance to win one of two amazing prizes of 50 AUD on purchases from their store. I can't wait to see your work on the Dusty FANAttics group.
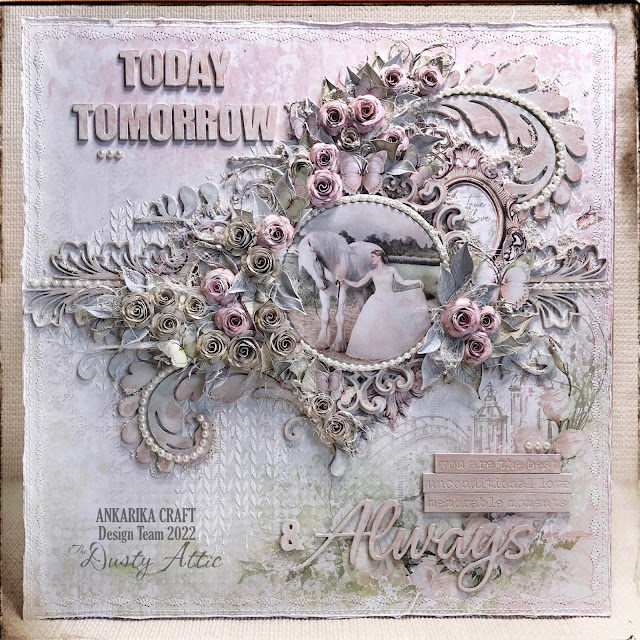
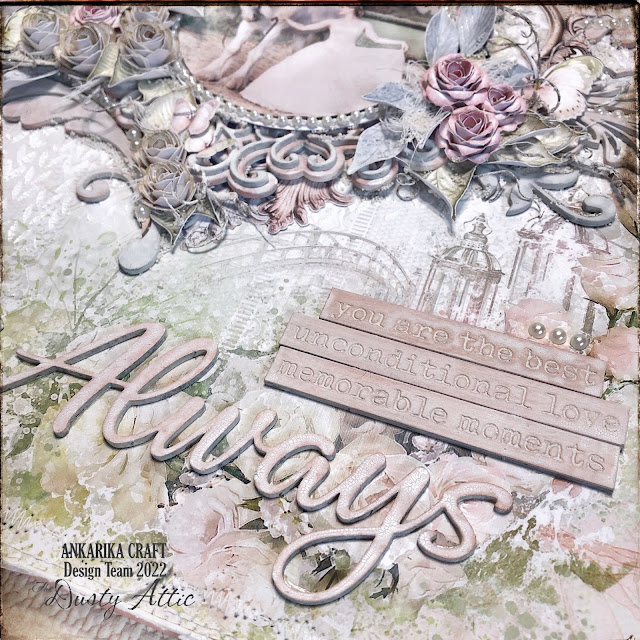
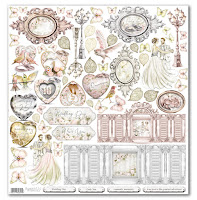
LO you see in the photos is stiffened with a wooden frame covered with linen. I colored it with acrylic paint, the colour apricot rose from Arte Deco. I stained this color partially with vintage paste from Stamperia. I glued a piece of paper on the back, which was in the testing phase, but it didn't make it to the final. I used sheet 10A with an incredibly romantic scenery of lanterns, a bridge and butterflies .. I knew this would be the first sheet from this collection that I wanted to try out in work. I will quickly remind you of the steps that I probably always take when making LO: tearing the edges and sewing them on the sewing machine, as well as securing the surface with a colorless gesso. Done.
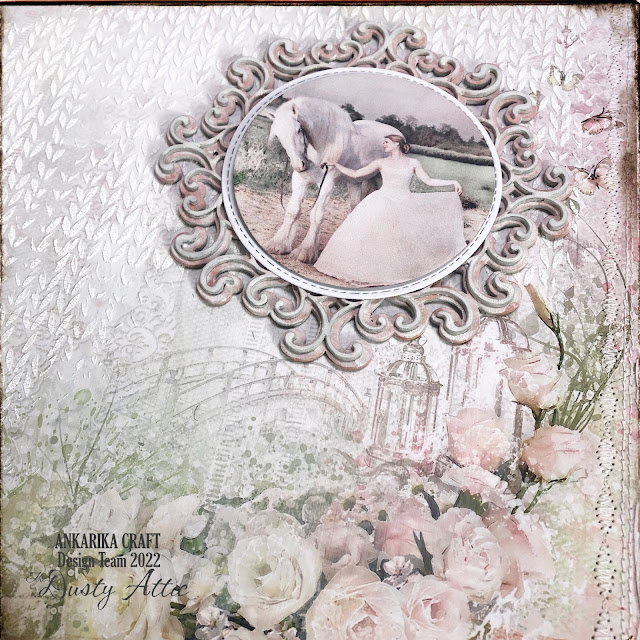
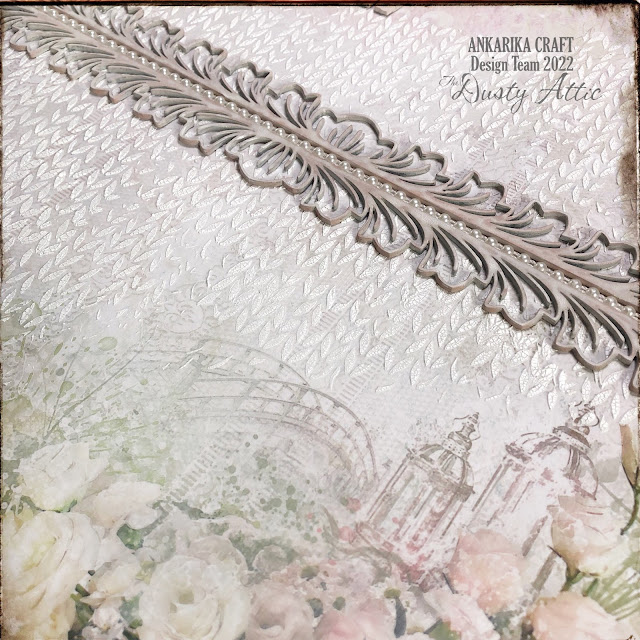

On a fairly large surface, I put the pattern from the Knitting mask by Dusty Attic. In my opinion, the paste with a cracking effect added to the charm, making the LO even more delicate. Then, slightly above the center along the entire width, I glued a beautiful chipboard border pattern. And here I would like to emphasize that all chippies patterns in this project have been previously secured with white gesso, detailed on all sides, including the edges. Then I painted them with the same acrylic paint. I did it especially not very carefully, hence here and there you can see gray-white shades penetrating through the apricot shade. The last stage of developing the cardboard pieces was to coat them with a diluted paste with a cracking effect. I applied it in quite detail with a brush. Such a diluted paste, firstly, is very easy to spread on thin and fine patterns, and secondly, the drying cracks are extremely fine and delicate. For me, this is a phenomenal effect!
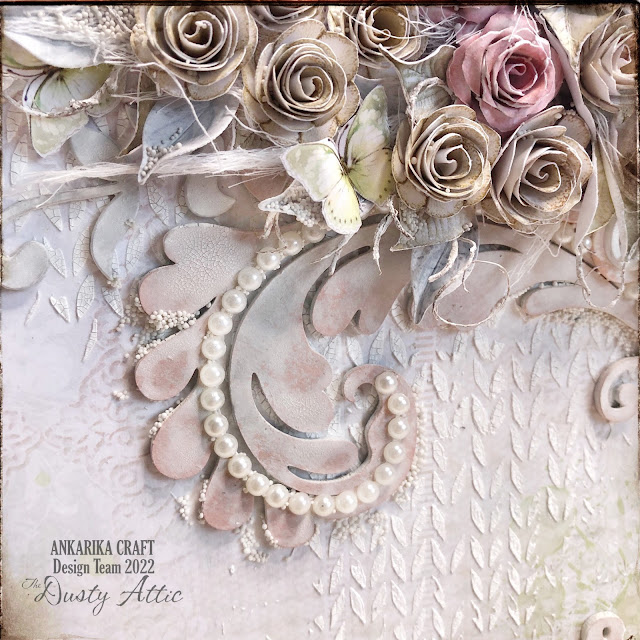

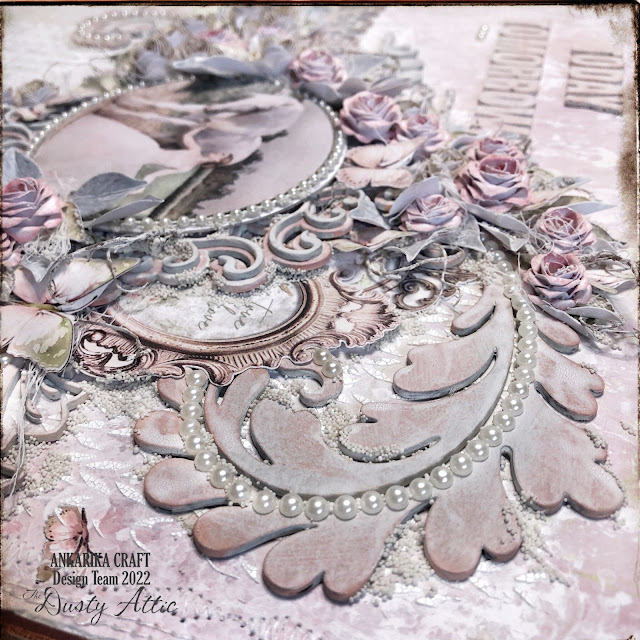
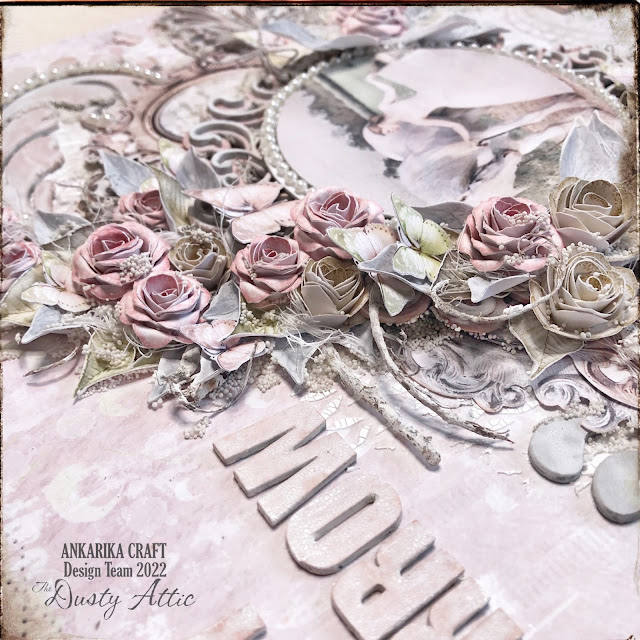
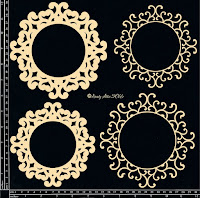
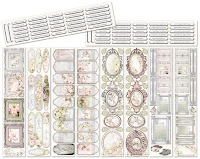
Between the aforementioned two border shapes, I pasted a parallel row of small pearls, I applied a similar finish to the chipboard curls on both sides of the composition and around the photo. Admit that these pearls have created a fantastic, romantic atmosphere here. Underneath of my composition is decorated with brilliant baroque and patterned frames cut from sheet 1B on the back of the cover. The same frames can also be found in the additional cutting set from the same "Romantic moments" collection. Then I fitted in an incredibly stylish cardboard frame where I put a picture of a girl with a horse. The frame is two-part and by painting both parts in slightly different shades it gives a very atmospheric 3D effect.
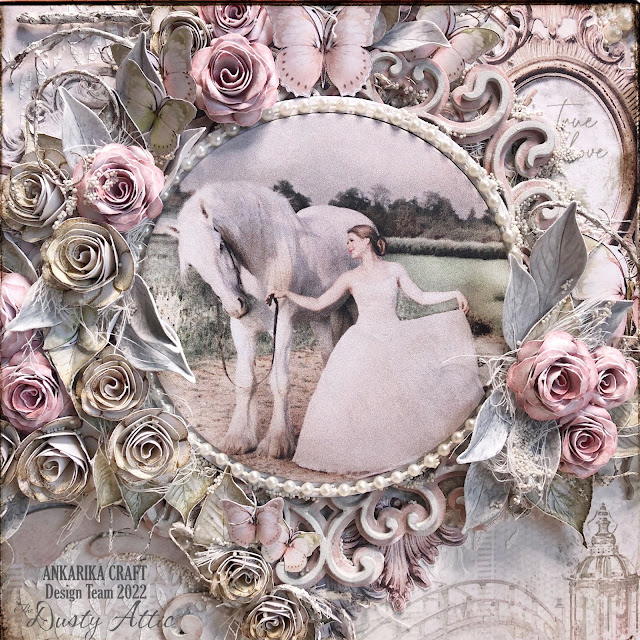
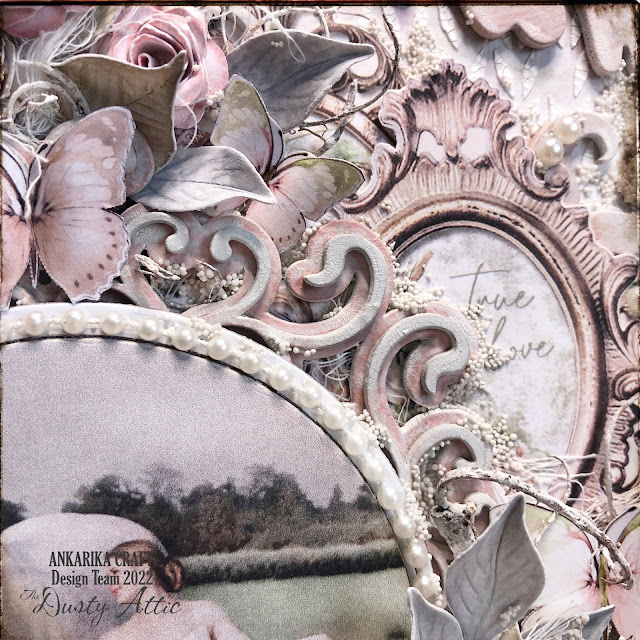
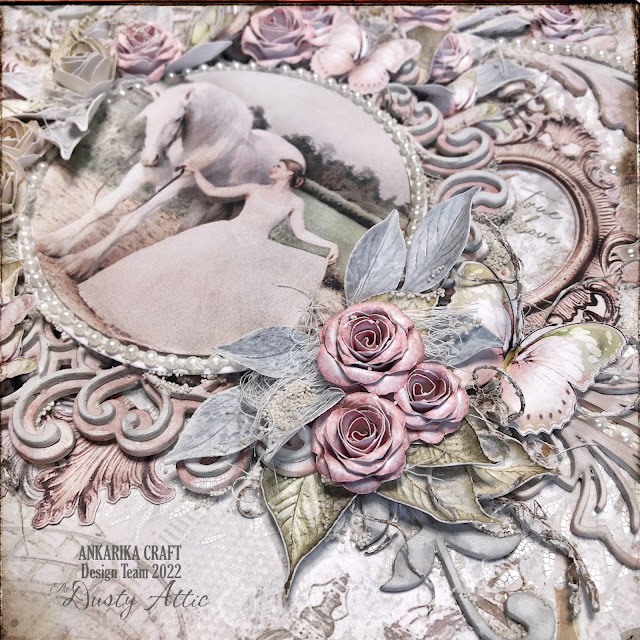
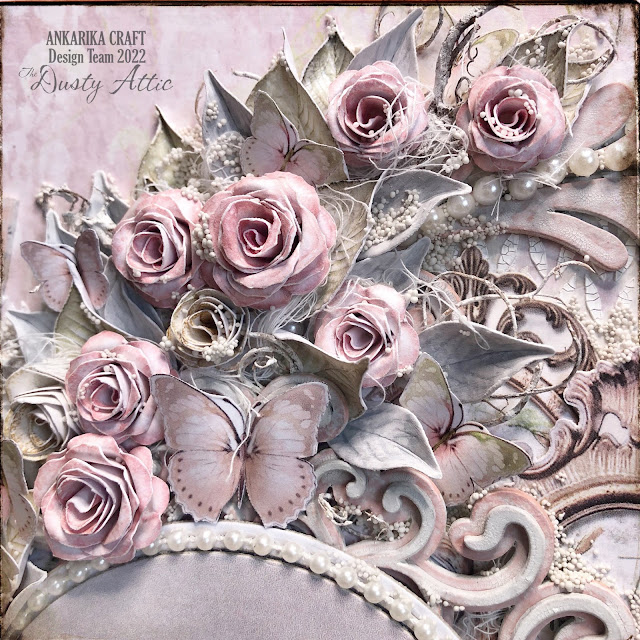
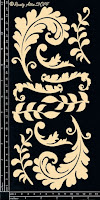
I stretched quite a lot of twisted two-tone roses around the frame. These are roses cut out from sheets that match the colors of this collection. I think it is a very interesting solution for people who do not have dies and a machine, but still want to make lovely 3D roses. They come in a variety of sizes, as well as the tiny and slightly larger leaves from other sheets available in the store. Among the flowers I fit even finer chipboard curls, white painted roots, pebbles, torn gauze and quite a lot of cut out butterflies.
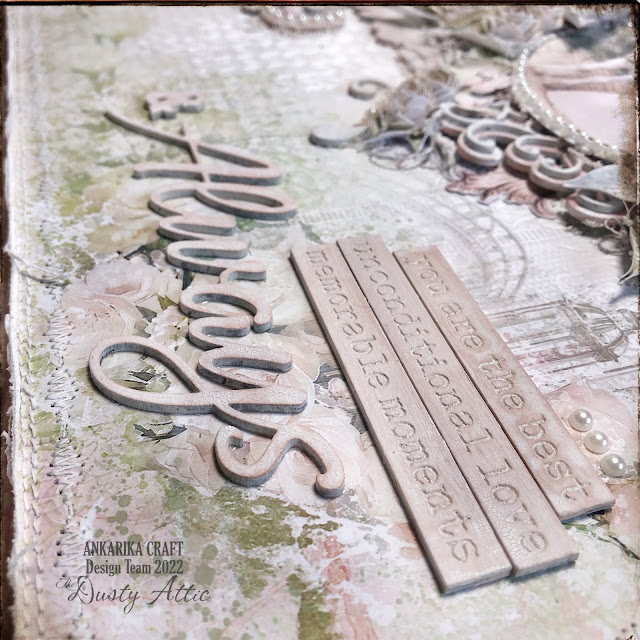
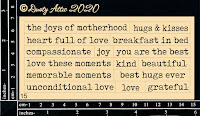
Finally, I must mention the lovely inscriptions. Beinga a second year in the Dusty Attic design team, I can tell you that I have a really wide choice of shapes and for every occasion - their inscriptions are a masterpiece, they are beautiful, interesting and carry a message. This time I used two sets: "today tomorrow & always" and stripes.
This project is an example of art work that can be done without dies. Naturally, it took me more time to cut these flowers and leaves out, but personally I was captivated by the end result and I don't regret the time spent on it. Apparently, in scrapbooking there is a division into those who like to cut graphics out and those who hate it. Which side are you on?
Dusty Attic's products:


Margaret Paper Design's products:
I greet you warmly and see you soon, as I already have another art work ready to describe.
No comments:
Post a Comment