
Hello and welcome! Tonight I have a new and cute project to share with you as my Design Team work for Dusty Attic.
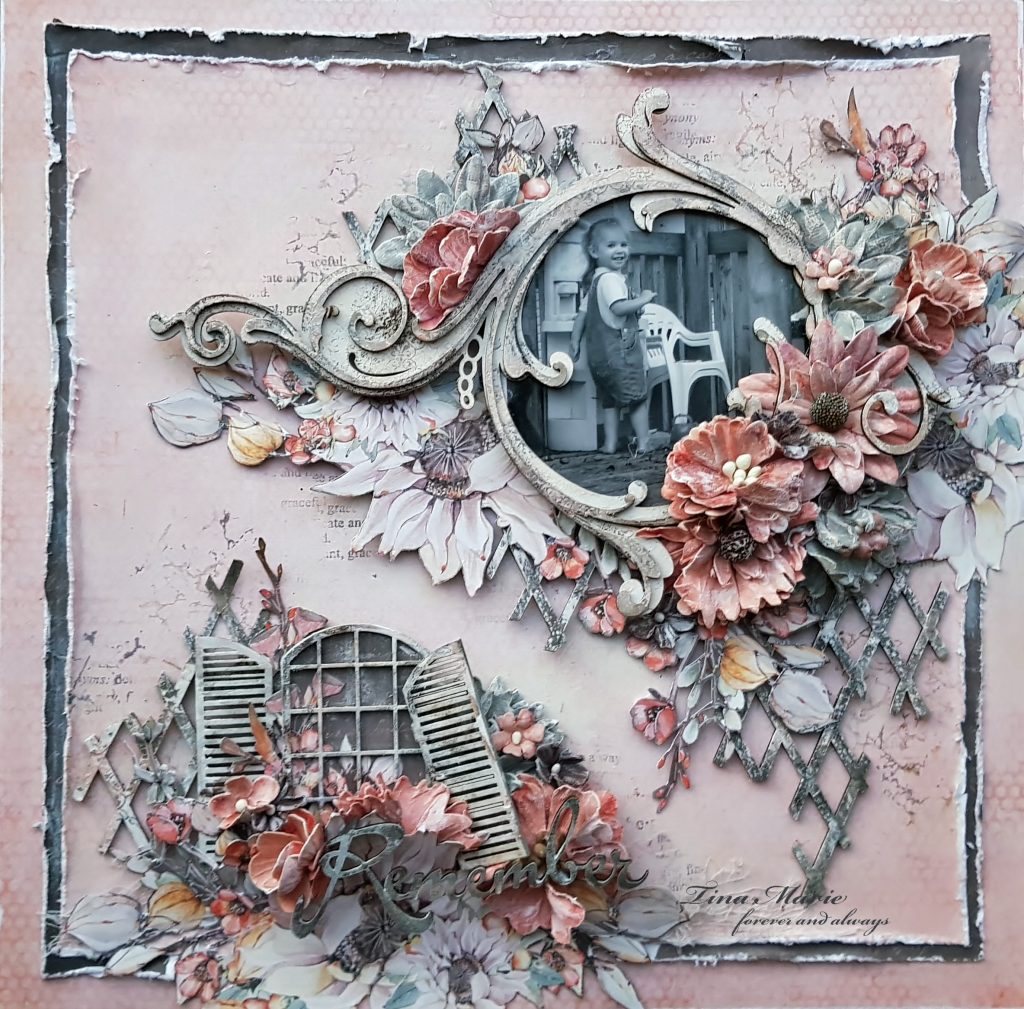
I have titled my project "Remember" as I am using a very cutesey older photo of my youngest daughter. It seems so long ago that she use to make me cups of tea from her cubby house that daddy made her. Oh how time flies.
For my project layout I have combined two different collections which I love to do from time to time. It was by accident that I found I loved these two papers together and they matched Dusty Attic's March moodboard I felt, well a few shades lighter of course but in my head they matched. For those of you who have not seen the moodboard as yet, I have shared it below. There is still plenty of time too to upload an entry if you are keen to win some fabulous Dusty Attic chipboards.
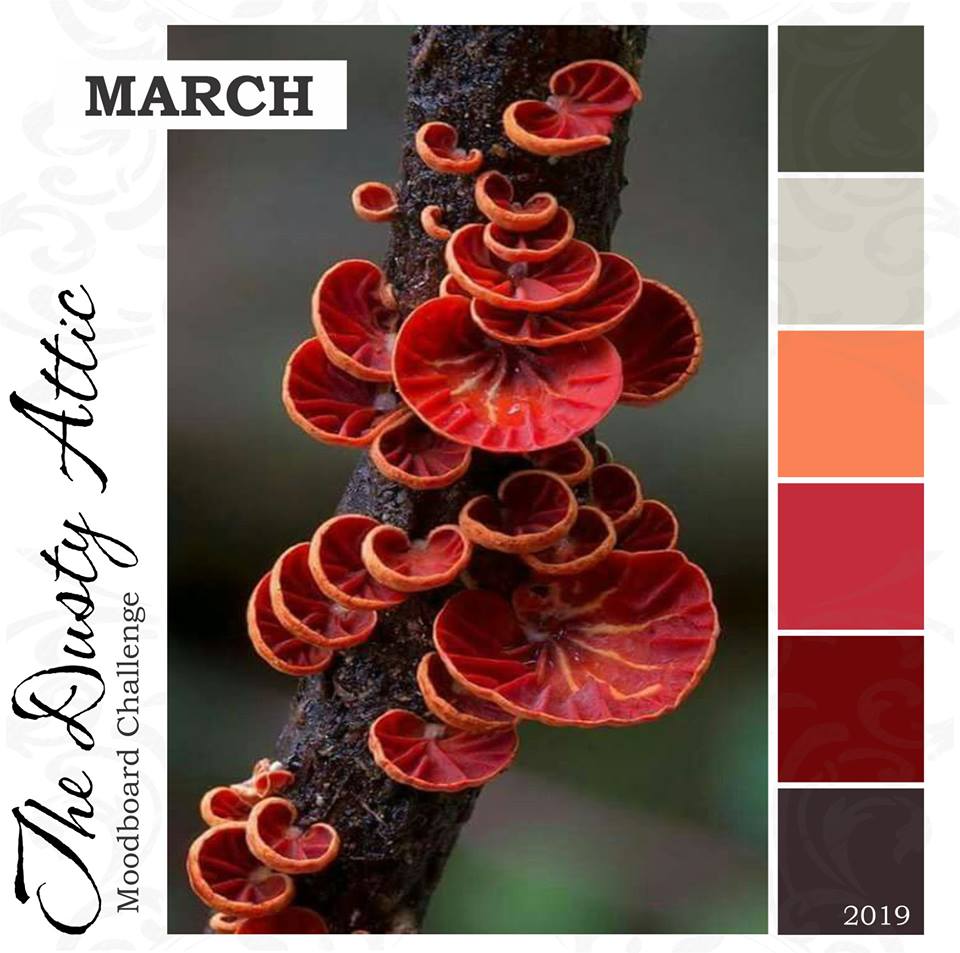
So from the moodboard I took the dark browns, grey and the lighter red and orange shades.
[gallery grids="News" image_size="large" columns="2" size="medium" ids="2592,2593"]
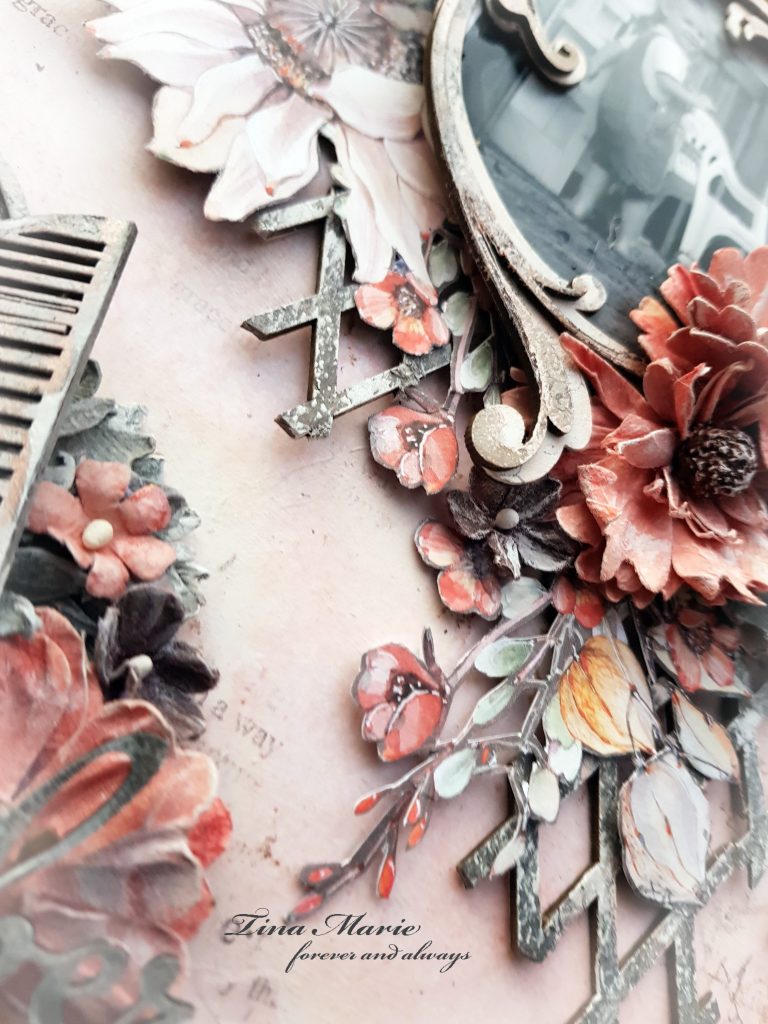
My background page consisted of Sea Creatures from the Sand and Sea collection along with Rusty Autumns Blooming Autumn papers. I did a little framework with my papers, added in some stamping using Gabi's Texture and Ethereal Stamp Sets using archival inks and distress inks to do this.
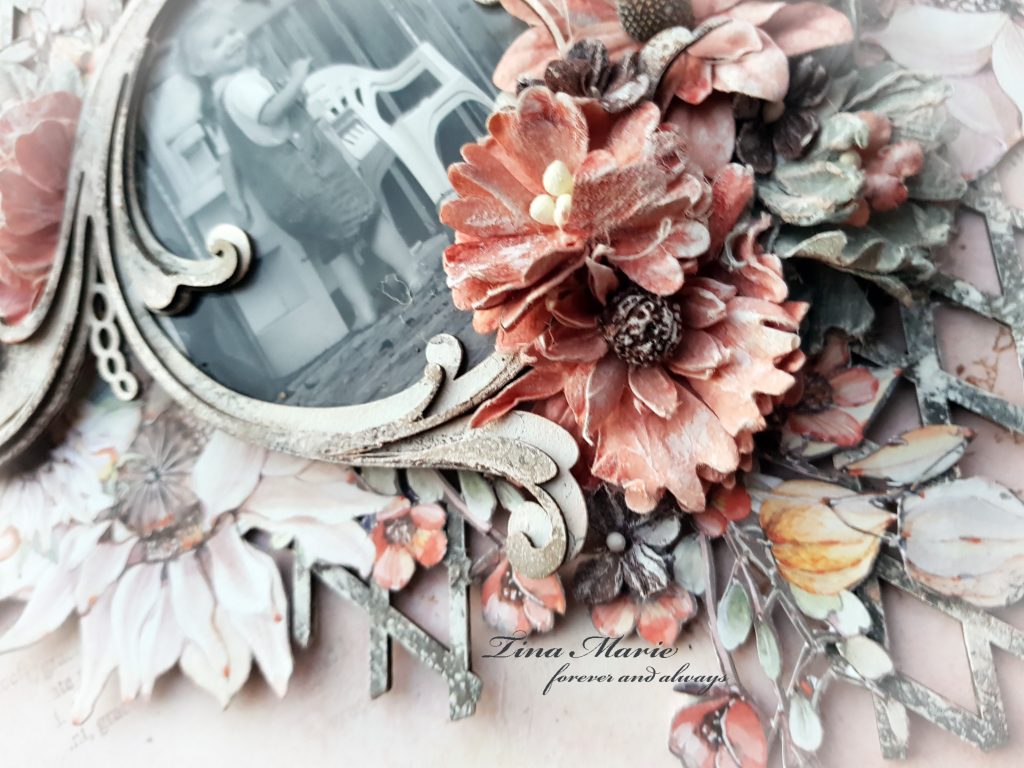
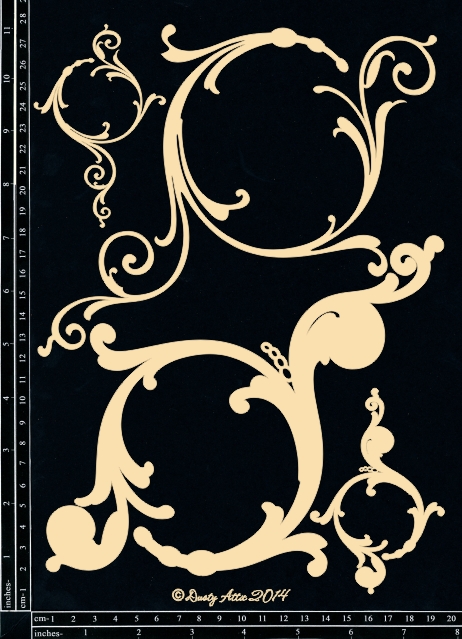
I then went on to add in one of my all time favourite pieces of Dusty Attic Chipboard the Decorative Scroll #1. This was used to frame my cute picture. I primed my piece with gesso firstly and allowed it to dry. I then did some stamping using Gabi's Ethereal Stamps with archival ink in the watering can colour. I then went on to give it a little colour using Inka Gold in Apricot. You can see the outcome below.
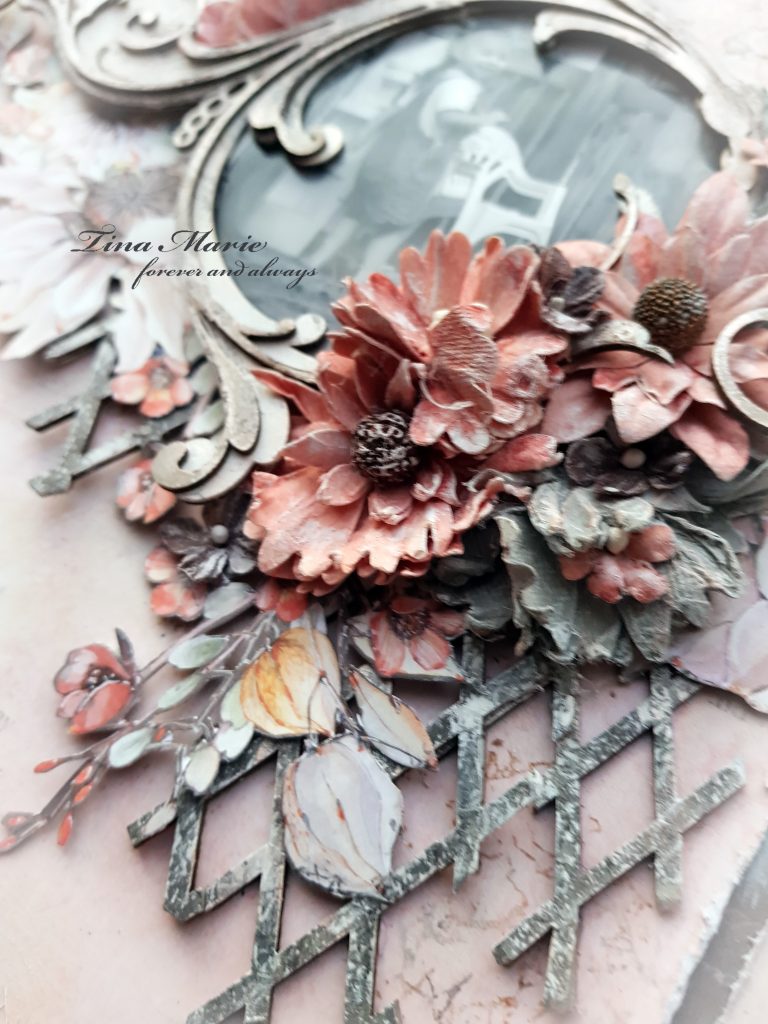
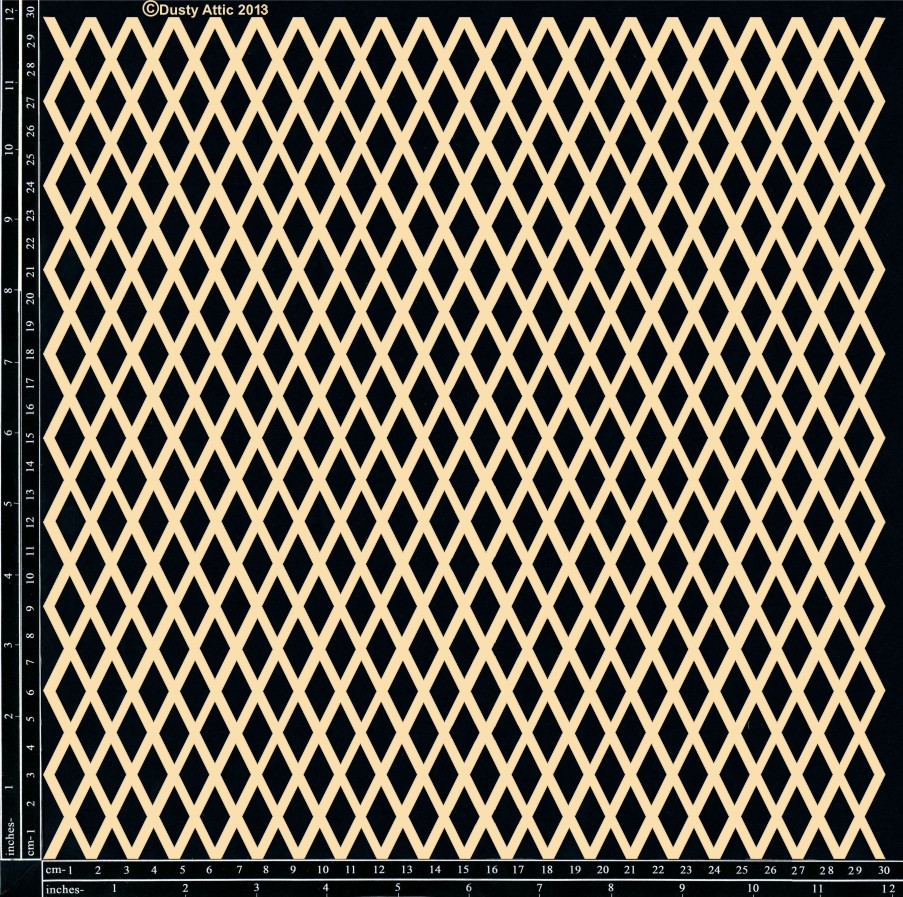
The Trellis (large) was used behind the Decorative Scroll to help it pop. I tore sections of the chipboard to give it a worn look as with any shabby chic project. I inked it with Watering can Archival Ink and then randomly sponged it over with a little white gesso.
While these dried I went on and fussy cut two pages of the Rusty Autumns Blooming Autumn papers. These are a little time consuming but I find very rewarding at the end of the cutting.
[caption id="attachment_1995" align="aligncenter" width="244"]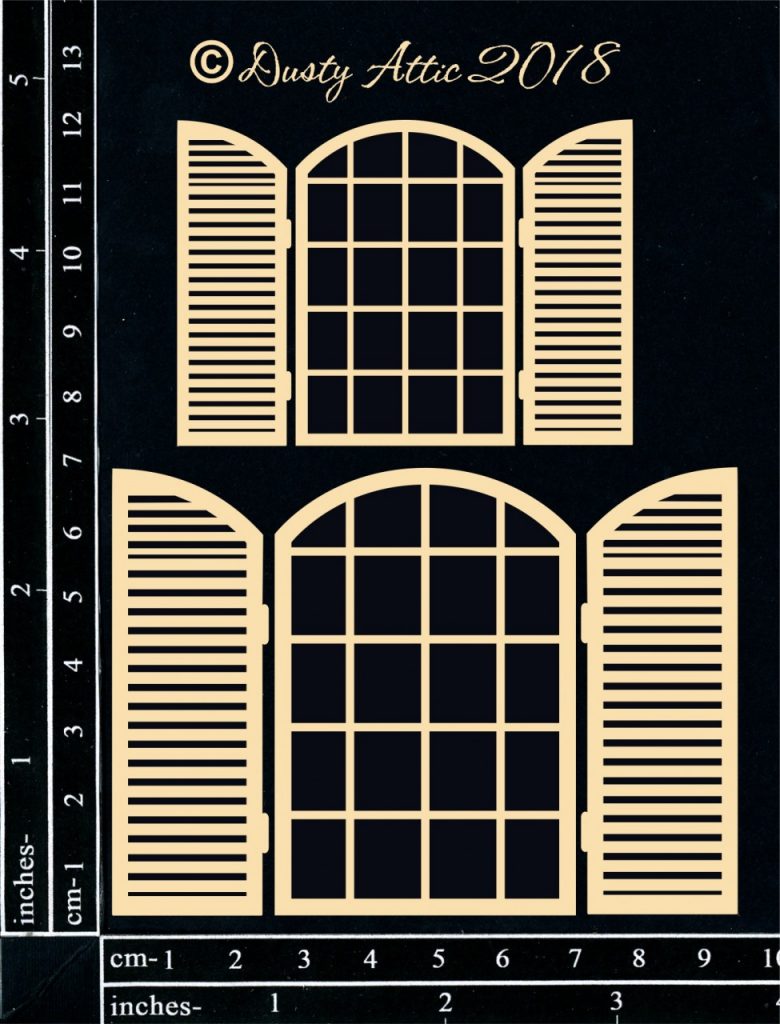
Windows and Shutters #3[/caption]
My next Dusty addition was the Window and shutters #3. These are just adorable. I cut sections of the fussy cut elements from Blooming Autumns gorgeous paper and adhered it behind the window. And then behind that I cut another piece from the Blooming Autumn to sit behind it. I coloured my window and shutters similarly to the Decorative Scroll and allowed it to all dry. You can see below the window with the papers behind. My word Remember was one that Jen Hedger had cut for me some time ago. Did you know that you can ask for speciality words or phrases. Jen does to order. There is nothing that this lady cannot do!
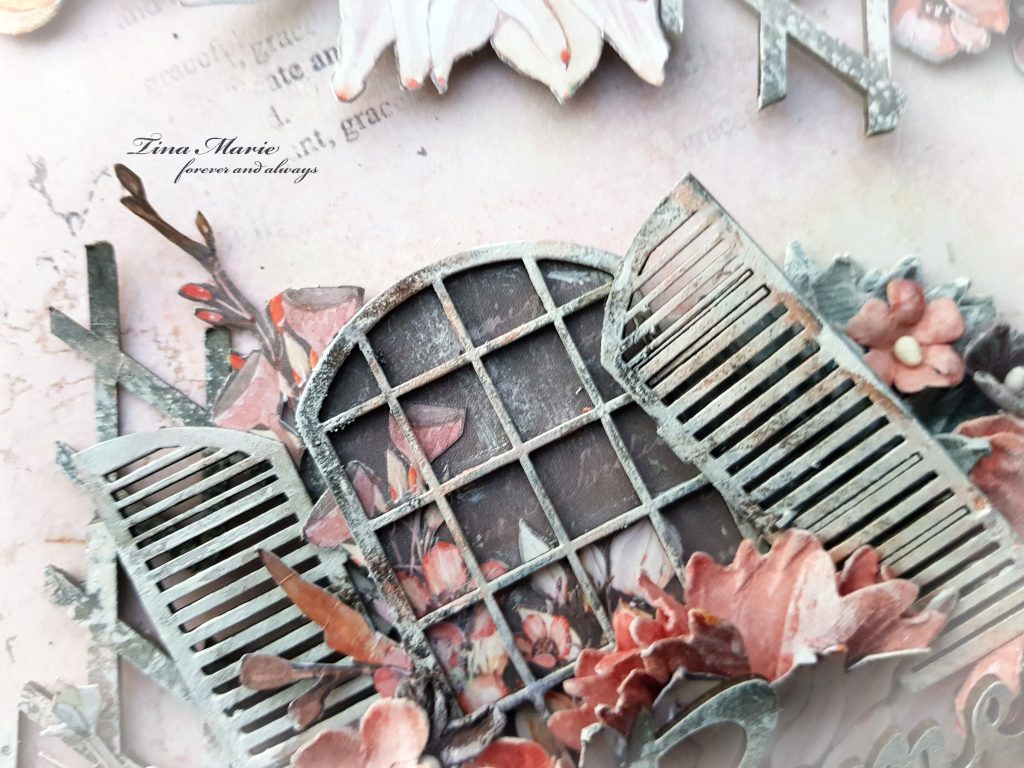
So my next step was to start layering using firstly the large chipboard Trellis with the fussy cut elements. I then added in some beautiful flowers from 49andMarket as below. These were dusted with white gesso to keep with the shabby chick look.
[gallery grids="News" image_size="large" columns="4" size="medium" ids="1854,766,483,2228"]
Below you can see the clustering with the chipboard , flowers and fussy cut elements.
That is all from me today. I do hope you have enjoyed my project.
Until next time take care and happy crafting.
Tina x
No comments:
Post a Comment