
Welcome and hello friends. I'm back with you today to share with you yet another Christmas project.
Well it is that time of the year when I get behind on absolutely everything including my Design Team work. And if I can use the quote "to kill two birds with one stone" that is exactly what I have done to ease my workload for this week. I have combined my Design Team work for Maja Design with the Dusty Attic using inspiration from the Dusty Attic Moodboard for this month. Have a look for yourself below. It is STUNNING to say the least. Remember you have till the end of this month to participate in the challenge.
For more information on this click here.

And my project inspired by the December moodboard.....
"Believe".
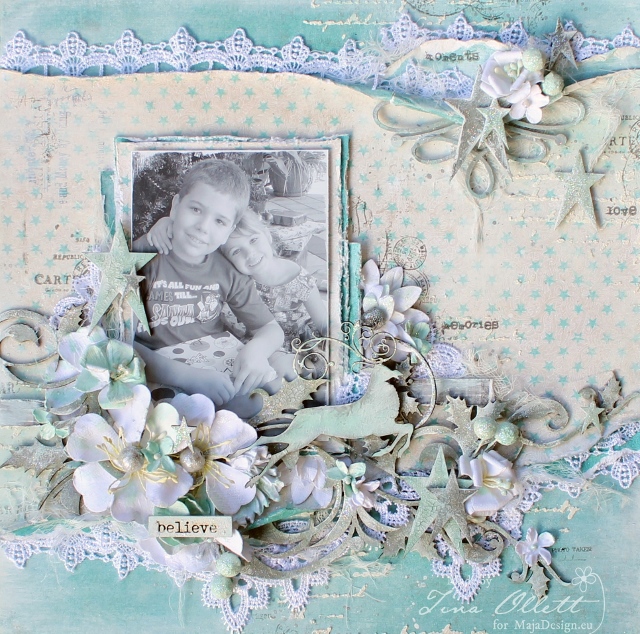
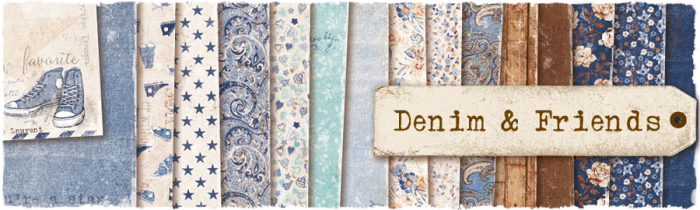
My layout started with just three pieces of Streetwear from the Denim and Friends collection. I used the teal green for the base and tore the second piece using the opposite side with stars. I simply tore a section top and bottom and then roll sections after distressing and sanding my papers.


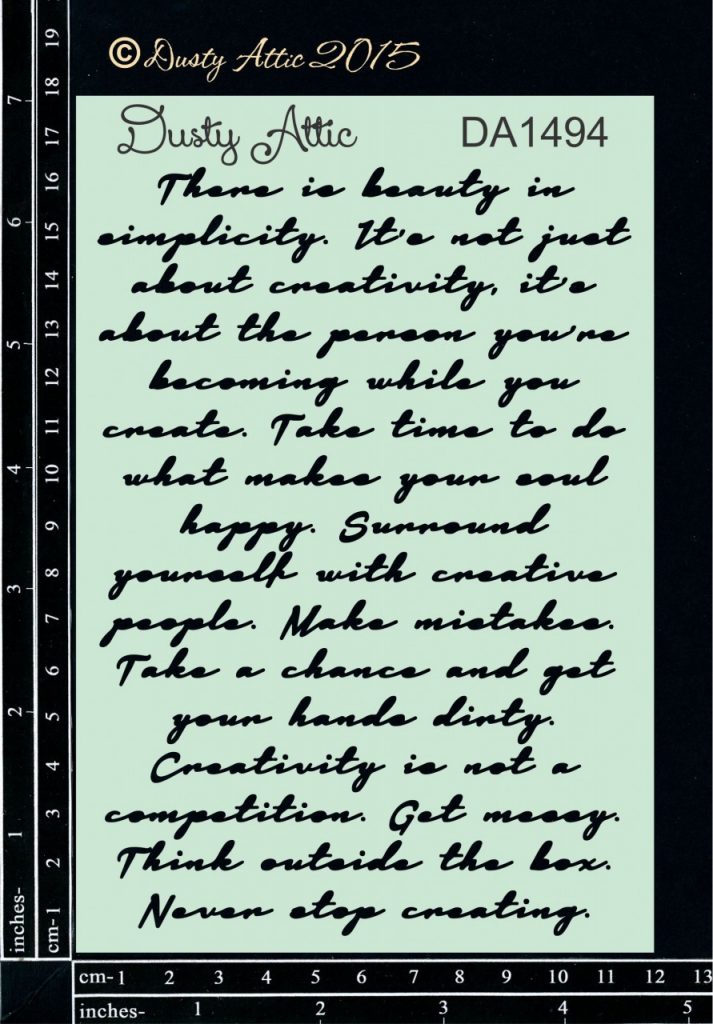
I also added in a little stamping on my project and I added in some textures with Grainy Texture Paste through the Dusty Attic Creative Script Stencil and also splatters of acrylic white paint.


Once my background was finished I then used the leftover papers to create some matting base for my 4 x 6 portrait black and white photo. You can see above the layers of Streetwear used to do this above.
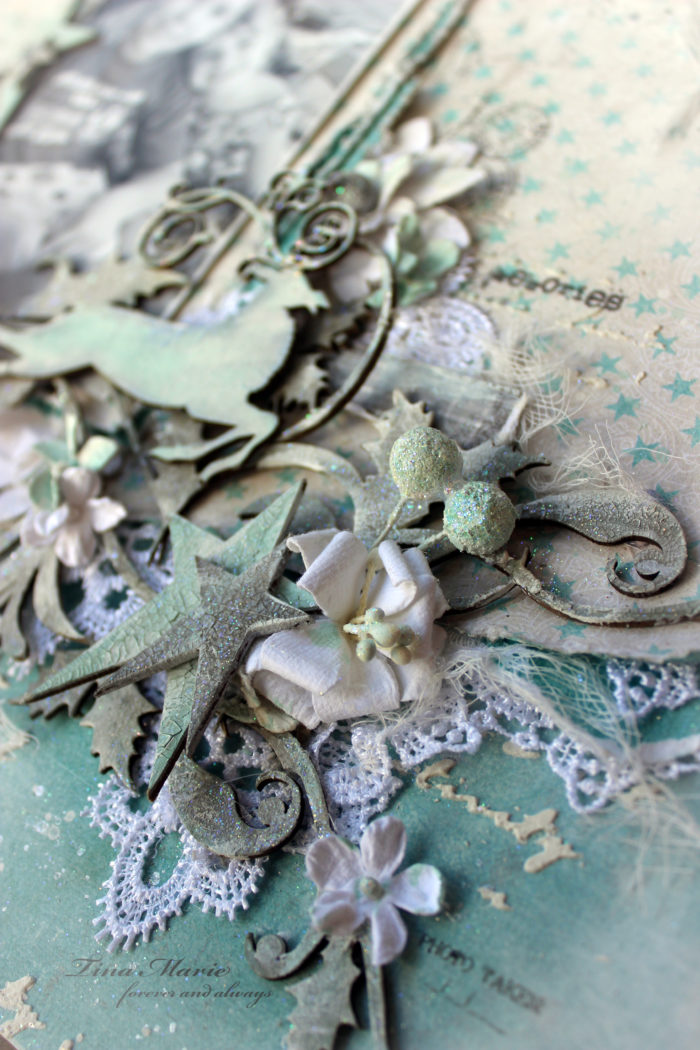
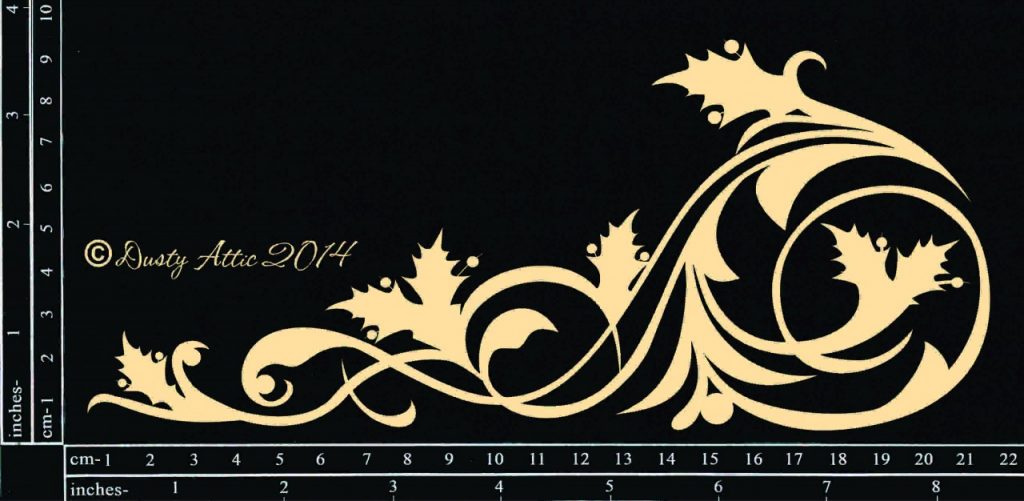
Above you can see part of the Holly Flourishes. These were inked in silver coated with Crackle Varnish, and sprinkled with Star Dust Powder. I used two pieces of the Holly Flourishes for this project. The second piece was cut to make an extension of the first.
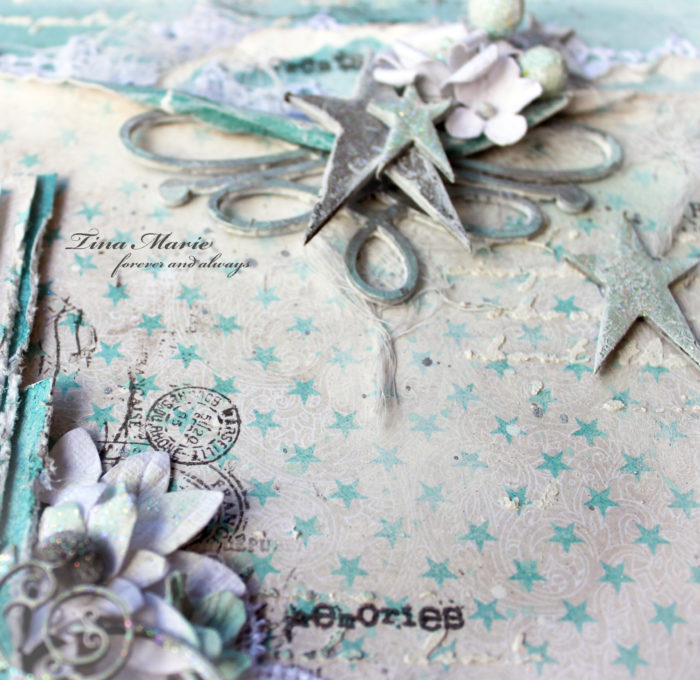
I used distress inks mixed with gesso to colour my flowers. My Dusty Attic chipboards were dressed similarly. Some I then went on to cover with Dusty in Colour Clear Crackle Varnish and waited for it to dry. You can see above and below the Stars #2 used for this project were dressed likewise. I used a variety of the different sized stars and mixed the colours up alternating between silver and the mint. When the crackle varnish dried I then wiped it over with gesso and added a sprinkling of Star Dust powder.
[gallery grids="News" image_size="large" columns="2" size="medium" ids="2168,2164"]
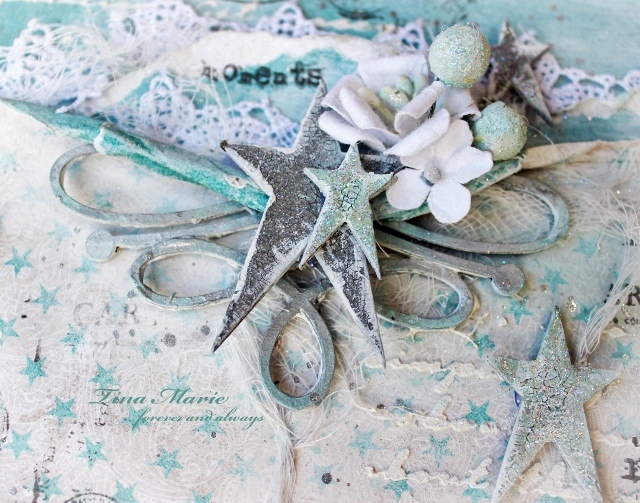
The Iron Accent #2 was used to help prop up the stars and give them more of a base to sit upon. This piece was painted with acrylics silver and mint and dry brushed with white acrylic paint.

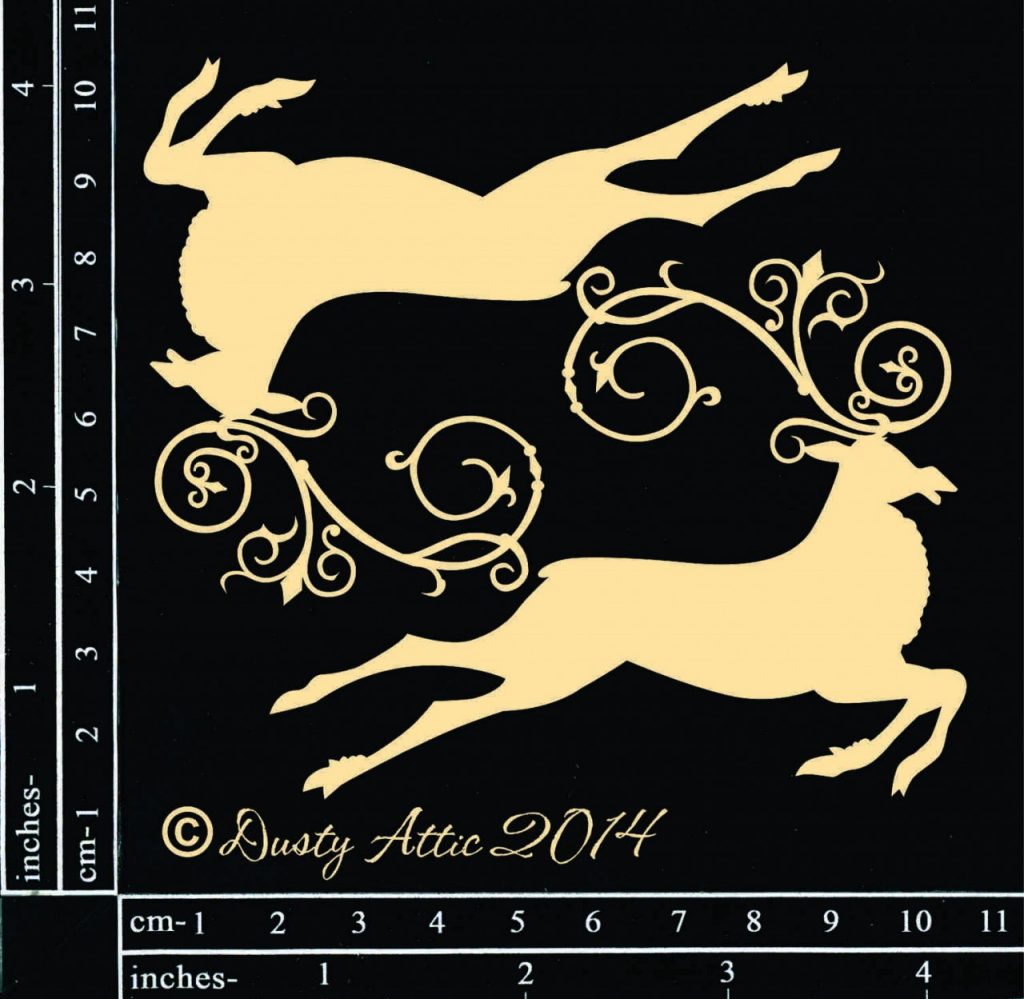
The reindeer was dressed similarly to that of the Iron Accent #2. I love these reindeer! They are just beautiful.
And of course my title was a tile from the Wordpl@ay #2 Chipboard Sheet. (believe).
I used some beautiful 49andMarket flowers to help complete my layout. They were:
[gallery grids="Fancy" image_size="large" columns="2" size="medium" tiles="true" ids="525,793"]
I decided at the very end of my project to add in some gorgeous laces. It just seemed a little empty without pops of white. I also added in a little distressed muslin.
Well that is all from me today. I do hope you enjoyed my post. I would like to take this opportunity to wish you all a very safe and merry Christmas. I hope Christmas brings all the special things your heart desires.
Until next year take care and thankyou for stopping by.


Beautiful! I love the crackle effects on all the chipboard. How cool to mix the distress inks with gesso. Love the inspiration.
ReplyDeleteBeautiful Layout and colours.
ReplyDelete