
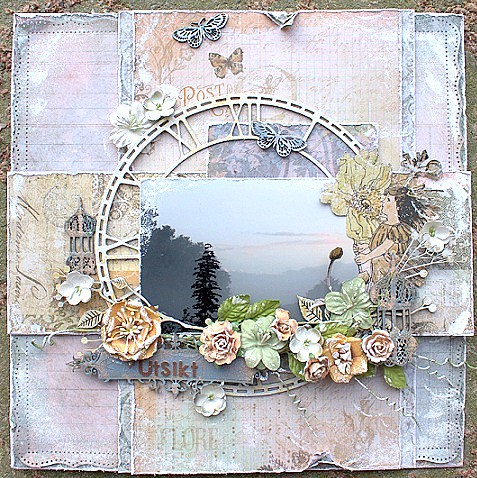
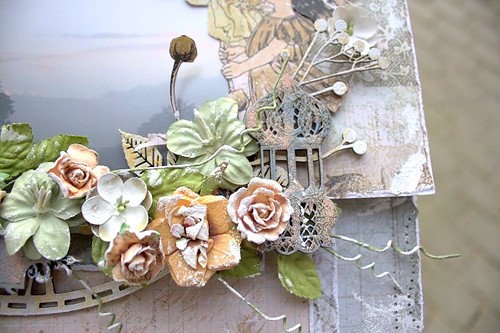
This Dusty Attic layout is made after the January Sketch, made by our very talented Mistra! I have used the brand new Morrocan Lamps (DA0835 and DA0836). I have a small tutorial on how I painted the lamps further down. I treated the Vintage Nameplate the same way as the lamps.
The Skeleton Clock Face (DA0430) was painted with Dusty in Colour, Navajo White and Vintage Gold. The Branches and Berries (DA0729) was painted the same way. I just love chippies that you can tuck into a flowercluster - perfect for a flowergirl like me!
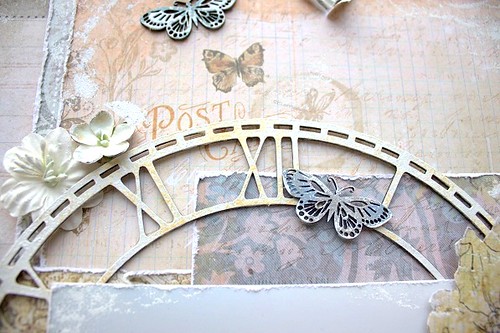
Speaking of flowers, I have used some beautiful Dusty in Blooms on this page too - Grassy Knoll and Bridal Veil. Finally I have used Flutterbies #3 (DA0766), painted with Dusty in Colour, Storm Cloud and Faded Denim.
Here's a close-up of the Flutterbies and Skeleton Clock Face. You can barely see the Gold colour, but it gives a beautiful shine to the chippies.
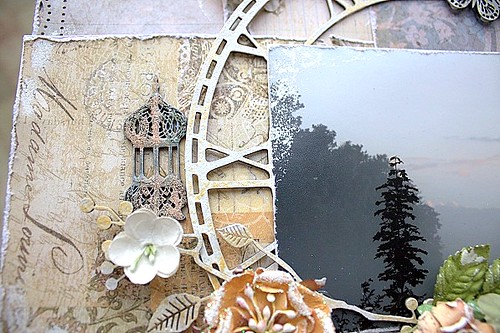
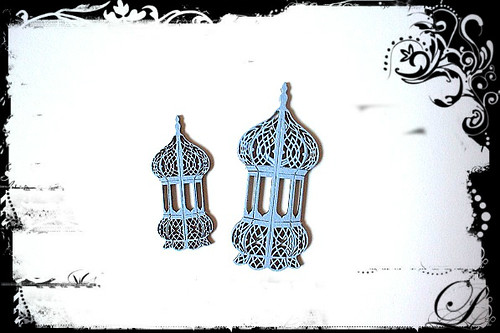
Here's the smaller of the Morrocan Lamps:
I placed my title "Utsikt" (which means "View", by the way) on the Vintage Nameplate.
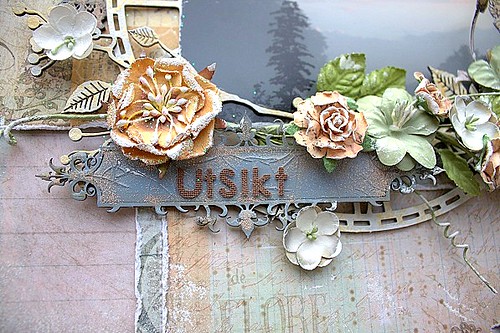
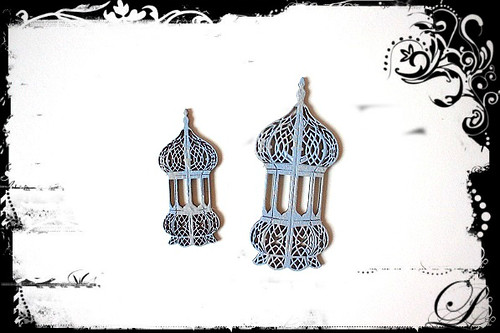
Here's the larger of the Morrocan Lamps, and some of the Dusty in Blooms:
Here's a small tutorial on how I did the Morrocan Lamps. I have used one medium sized lamp (DA0835) and one mini lamp (DA0836). Dusty in Colours used: Storm Cloud, Faded Denim and Clear Crackle Varnish. Finally I have used Antiquities Embossing Powder.
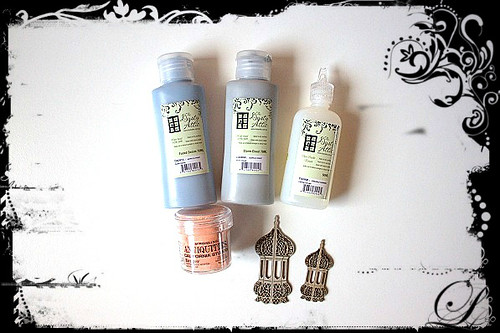
First I painted the lamps with Faded Denim, using a sponge.
Then I painted the lamps with Storm Cloud, but not on the entire chippie, just a bit here and there to make the colours mix a bit.
After the acrylic paint had dried, I put on Clear Crackle Varnish, a medium thick layer. This varnish dries in about an hour, depending on how thick of a layer you put on of course. Right after I had put on the varnish, I sprinkled some Antiquities Embossing Powder here and there. The powder works more like glitter when used just as it is, and gives the chippies a really nice look!
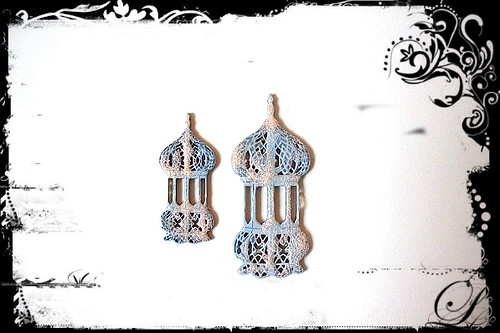
There, my Morrocan Lamps are ready. The colors matches my photo and papers just perfectly!

Totally Gorgeous. Thanks for the tut. Must get that skeleton face clock. Thanks.
ReplyDeleteHuggies
Rachelle
Beautiful, love the colours
ReplyDeleteThis is beautiful Helena and your tutorial is terrific!! Thanks for sharing it! xo
ReplyDelete