Hi everyone!
Some seaside inspiration today
from me.
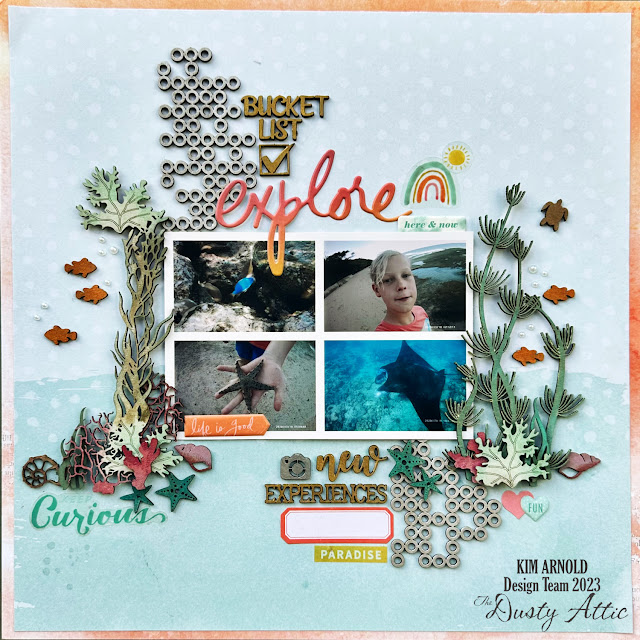
I have created this layout using photos
that my son took while we were on holiday at a tiny resort on one of the outer
Fijian islands. I have featured the amazing Reef Cluster #2 chipboard which was
just perfect for the theme of this layout and created little underwater scenes
on each side of my cluster of photos. I will take you through what I have used
and what techniques I applied.
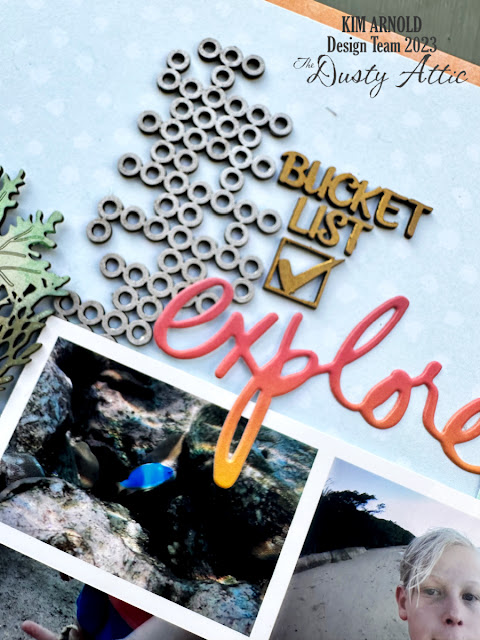
Starting with the Broken Bits #12. I used
these to give the feel of bubbles without using actual bubble shapes. I used
silver Prima wax to finish these pieces.
I then moved onto the Reef Cluster #2 and
Ocean Elements #7. I used a combination of distress inks, paints and waxes to
colour up the various pieces of chipboard in this pack. The Ocean Elements
chipboard looked like seaweed to me, so I included it to add another shape to
the scenes.
Reef Cluster #2
My idea was to create mini scenes, so I
wanted to add dimension and a range of colours so that when I layered all of
the pieces up there would be contrast. I also cut some of the coral pieces
(since there were two the same but mirrored) so I could use the pieces as
layers, which makes the scenes much more interesting. I used a combination of
paints and inks and waxes to give shading and a dimensional or ombre effect to
the colours on some of the bigger pieces. I finished the scenes with little
pearls that look like bubbles coming from the fish.
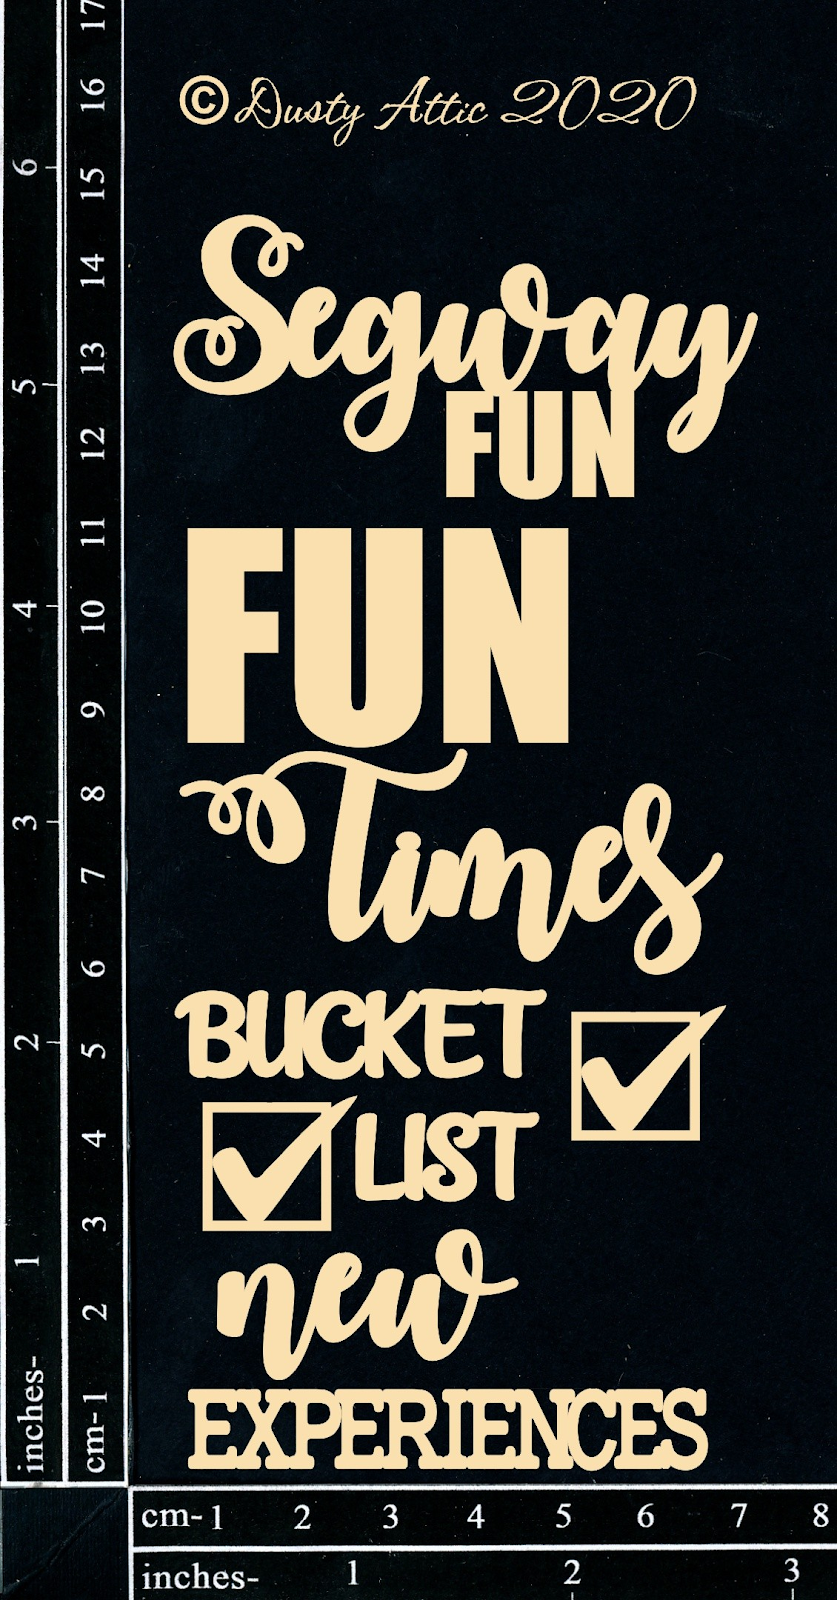
Mini Captions 21 Segway
I then finished the Mini Captions in gold mica
paint. I thought that the Bucket list and new experiences words from this pack
were just perfect for this layout.
I hope you have a chance to get some
creative time in soon.
Dusty attic products:
https://dustyattic.com.au/product/reef-cluster-2/
https://dustyattic.com.au/product/mini-captions-21-segway/
https://dustyattic.com.au/product/broken-bits-12/
https://dustyattic.com.au/product/ocean-elements-7/


No comments:
Post a Comment